How to
all key steps
Hello,
Procedure for Installing a Stretch Ceiling System :
Steps to Set Up a Stretch Ceiling System
1. Preparation: Begin by measuring the room to determine the necessary dimensions for the ceiling system. Ensure the walls are clean and free of obstructions.
2. Track or Profile Installation: Install the track, frame, or cornice around the perimeter of the room. This component will serve as the anchor for the ceiling membrane.
3. Profile Alignment: Level the track or frame to ensure an even installation. Secure it to the walls with appropriate fixtures.
4. Membrane or Film Preparation: Prepare the ceiling membrane, fabric, or vinyl. The membrane should be equipped with a harpoon or hook system.
5. Attachment of the Membrane: Hang the membrane by aligning the harpoon or hook with the profile or track. Use a straight spatula to gently secure the membrane into place.
6. Final Adjustments: Smooth out any wrinkles or imperfections in the membrane. Ensure it is securely fastened and properly aligned with the track or profile.
7. Inspection: Conduct a thorough inspection to confirm that the installation meets quality standards and that the ceiling is perfectly in place.
Thank You
How to install a stretch ceiling
a summary of the entire procedure

All required documentation
Hiring contractors? Who will install your stretch ceiling: the seller or a Sub-Contractor ?!! Taking the appropriate precautions to ensure that you choose fully licensed and insured contractors like us.


prior to begin
We take all necessary steps to ensure that your unit is returned to you in perfect condition. From the beginning to the end of the membrane installation, we take care to cause as little disruption to your furniture as possible.
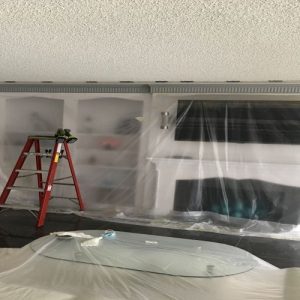

Installing our "T-Flex" Tracks
A specific stapler is used to install the profiles around the perimeter of your walls. The inside and exterior angles are cut perfectly with a miter saw rather than bent by hand. The "T-Flex" profiles are the only stretch ceiling profiles on the market that allow you to simply remove the membrane without needing to be a pro.
Preparing the Membrane
During the heating stage of the installation piece, the membrane is first opened and hung. The hook phase of the harpoon in the rod might commence after a few minutes.
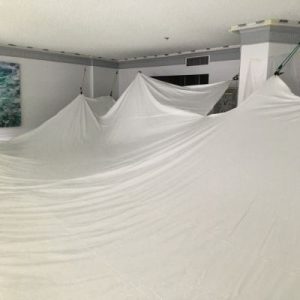
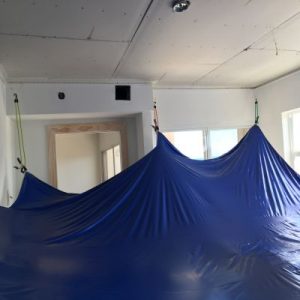
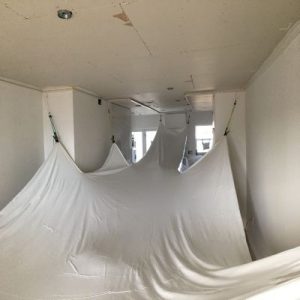
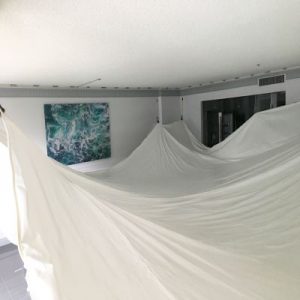
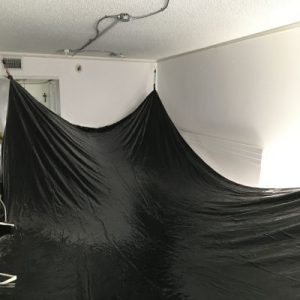
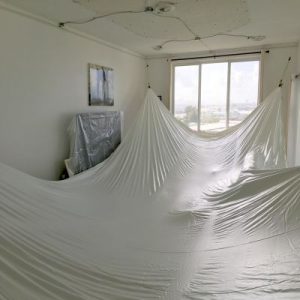

Membrane Installed
The stretch ceiling has just been stretched at this point in the installation process, and it is now permitted to cool for a time before the light underneath is inserted.
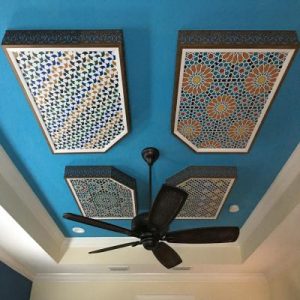
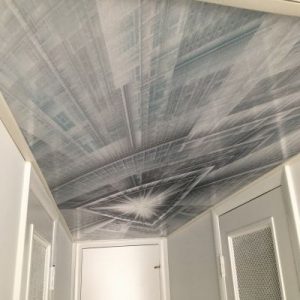

recessed lightings
This is an example of how to install a led spotlight; the same procedure may be used to install a light, an air conditioning vent, or a camera. Above the stretch ceiling, there is always some kind of preparation.
Monday-Friday : 9:00am - 6:00pm
Saturday 9:00am - 2:00pm
ceilingmiami@gmail.com
Miami - Orlando - Jacksonville
Naples - Tampa - Gainesville
Call Today: 786.334.0392
Photo Credits: OneStretchCeiling Miami